

Replacing something like a ceiling light can be a daunting task if you have no previous experience with such things. But it is achievable and we’re here to give you that helping hand.
Of course, if your ceiling light isn’t working, it needs replacing. In this day and age, you don’t want to be paying someone to come in and change it, especially as it is a job you can do yourself.
Whatever your reasons for wanting to change your ceiling light, here are some simple steps to follow to get it done as simply and safely as possible.
What you will need
- Lightbulb
- Light Switch
- Ceiling Light
- Screwdriver
- Wire Nuts/Wire Connectors Or Electrical Tape
- Wire Stripper or Cutter
Step 1: Turn off the power
First things first – safety first. Make sure the switch is turned off before proceeding.
To make things even safer, turn off the main switch of the room you will work on through the main electrical panel or circuit breaker of your house.
After the safety part is taken care of, you can prepare all the materials needed so they’re ready and waiting for when you need them later.
Quite a few parts of the process may require a second pair of hands depending on the fixture you are removing or adding to your ceiling. A bigger chandelier will definitely require more than one person.
Step 2: Remove the bulb

Now you’ve turned the power off, you can handle the wires without any sort of worry.
You can start the process by removing the bulb. These can either unscrew or slightly twisted and pop out.
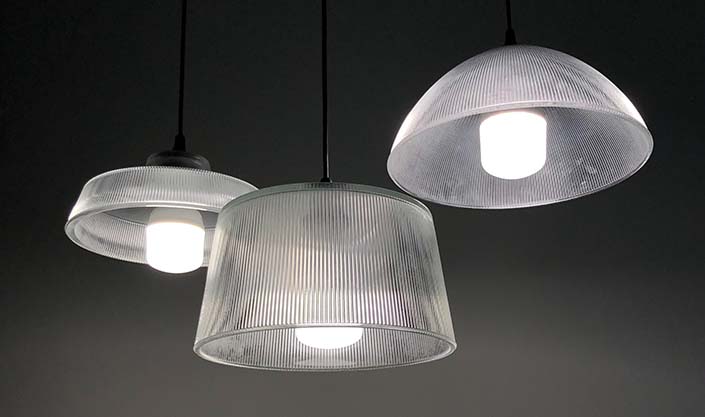
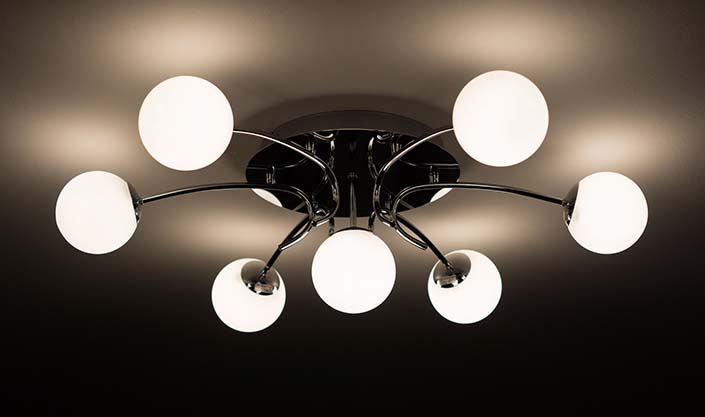
While some have an outer layer just like this Emilia Design Crystal Ceiling Light where you can easily unscrew the bulbs for replacement, there are some light fixtures which use LED lights instead of the typical light bulbs which can emit more light and can last twice as long. You can also see some pendant lights that should work the same as a ceiling light but has a more focused beam of light.
Step 3: Unscrew

If you’re going to replace a whole assembly of your ceiling light, taking out the bulb in the previous step will help with uninstalling the whole thing.
This is the part where a second pair of hands could prove useful for some bigger light fittings which may be heavy when unscrewed from the ceiling. You’ll need someone to hold the light while you sort out any wiring underneath during the next step.
There are different types of ceiling lights. Some light fixtures have protective glass casings which are a design feature but also protect the bulb. Just like this crystal chandelier lamp, you must remove the outer layer by unscrewing the assembly before accessing the bulb.
Once you have the fixture off the ceiling you should be able to see the wires underneath which provide the power to your ceiling light.
Step 4: Free up the wires
Now the wires are bare and accessible, free up the wires by removing the wire nuts or any electrical tape which may cover them.
Any wires you find will be colour coded. For example, a black wire within the ceiling box should connect to a black wire from the light fixture. The same goes for a white wire. There will also be an earth wire which connects within the box as a safety feature in case of an overload.
The last thing to do is to expose some bare wire at the end of the wires by stripping just under an inch of wire from the end. Now you’re ready to attach the wires to your new ceiling light.
Step 5: Attach the wires
Again, make sure you have about an inch of copper wiring exposed to work on to attach your new ceiling light.
Connect the colour-coded wires together by twisting them together and using a wire nut to seal the connection.
Alternatively, you can also cover them using electrical tape. Just make sure you cover each line properly from the wire casing to the top.
Step 6: Attach the bolts
If your ceiling light comes with a casing, screw the fixture to the ceiling to set them in place. Using a screwdriver should help attach the bolts through.
Make sure it is attached securely before letting go of the fixture.
Step 7: Install new lightbulb
Once you have the fixture base installed, screw the bulb in place. Turn on the main power and check if it lights up.
If it lights up, congratulations! You’ve just changed your ceiling light successfully. If not, you may have to revisit your wiring, checking over our guide carefully.
Light up your room
At this point, you should have your new ceiling lights installed. Whether you’re doing this for your living room, bedroom, or bathroom ceiling lights, the process is the same.
Just remember to be careful when dealing with wires. Make sure that the wires are connected properly and should not be touching other metal parts that should not be touched.
Coming soon to Yavolo in September 2023, are even more tools and fittings which will help you make easy and impressive improvements to your home.
For other useful and informative blogs, check out our home page by clicking here.
Here are those products again that we love and have linked to in this blog post: