
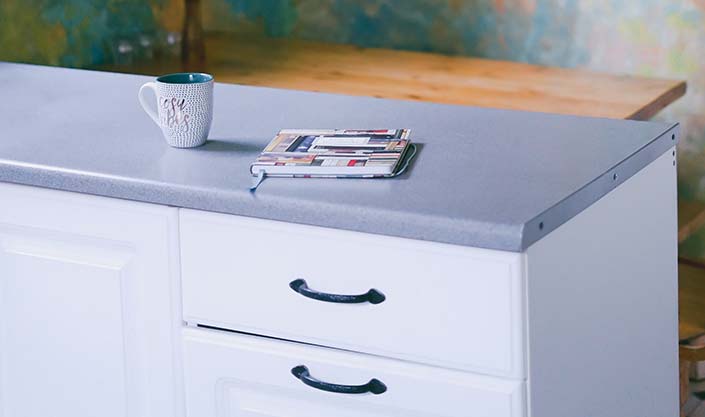
Breathe some new life into your space with our step-by-step guide on how to upcycle cabinets!
Before you go throwing out your old cabinets and spending your money on a new one or even a new set, give upcycling a try.
Upcycling is a great and budget-friendly way to upgrade virtually any piece of furniture you have in your home for which you believe you have no use. From chairs to tables to cabinets, you can give these things an upgrade with repairs and repainting.
Whatever cabinet you wish to repurpose and refresh, we’ve got the perfect guide here for you. So sit back, relax and let’s get right into it.
Tools and Materials Needed
You’re going to need some tools and materials at the ready so take some time beforehand to bring them close to hand.
Tools
- Screwdrivers
- Drill
- Filler Knife or Scraper
- Paint Brushes
- Paint Rollers
- Measuring Tape
- Safety Goggles
- Mask
- Old Cloth
Materials
- Degreaser
- Wood Filler
- Spare Wood
- Sandpaper
- Masking Tape
- Primer
- Paint (any colour of your choosing)
Steps To Upcycling Any Cabinet
No matter what type of cabinet you want to touch up, we have compiled the general steps to follow so you can easily upcycle any cabinet.
Step 1: Detach cabinet doors and drawers
How you do this step depends on the type of cabinet that you want to upcycle. Some cabinets are only made up of drawers, some have doors, and some have both.
For cabinets with doors, start by opening the door and detaching it from the hinge. Depending on the opening mechanism, you can do this by either releasing the catch or using the proper screwdriver. After removing the cabinet door, remember to unscrew the hinge on the door side so that you’ll have a much easier time later on in the repainting stage.
For the drawers, it’s a simple enough task that usually doesn’t involve any tools or materials– only a bit of physical work. Of course, you have to empty out all the drawers before removing them. Once you’ve emptied everything out, check out the sliding mechanism to figure out how to remove the drawers from the cabinet. More often than not, you will have to lift the drawer out of the sliding mechanism to free it from the cabinet.
Step 2: Remove cabinet handles
Look at the screws on your cabinet handles to see which screwdriver is the best one to use. When you have the right screwdriver ready, start removing all the handles.
After detaching the handles, grab an old cloth and some degreaser. A degreaser works well in cleaning the surfaces of the cabinet, the door, and the drawers. It also prepares the cabinet for painting so make sure you apply it thoroughly to the cabinet.
Step 3: Make any necessary repairs
The usual necessary repairs that you would need to make at this point are fixing cracks or peels that would otherwise affect the final upcycled cabinet.
For cracks on the surface or on the corners, just grab some wood filler and a scraper. Push a bit of the filler into the holes or cracks and then use the scraper to clean up any extra filler. If you’re planning on replacing the handles and the new ones don’t fit in the old handle holes, you can also fill those holes up with the wood filler.
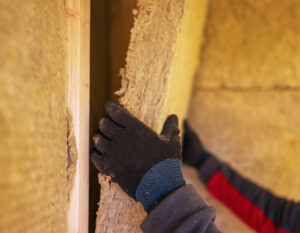
Step 4: Sand down all the surfaces you want to repaint
When repainting anything, sanding is usually the first step in the process. This makes the surface of the wood more uniform. With a sanded surface, the end product (or the finish) will look nicer and smoother.
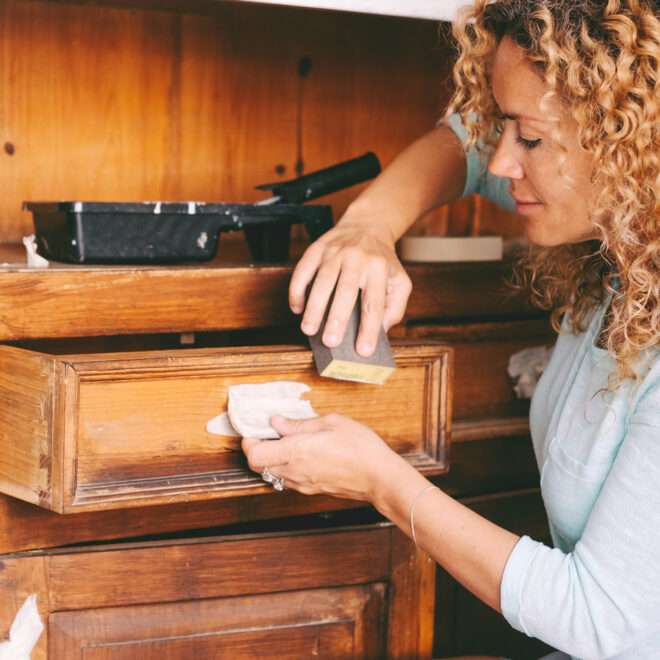
Whenever you’re sanding anything, it’s best to protect yourself so put on a mask and some safety goggles before starting. Once that is done, grab your sandpaper, or an electric sander for those bigger projects, and start sanding down the area that you want to repaint.
If you fixed anything in the previous step with wood filler, go over it with the sandpaper to smoothen and flatten it out. With the sanding all done, clean up the dust before moving on to the next step.
Step 5: Prepare the cabinet with primer
Before you apply the primer, grab some masking tape and run some along the border of the cabinet and then some more on the inside of the cabinet. When applying the tape, make sure it is fully pressed down. This will create a neater final product.
After securing the masking tape, you can start applying the primer. Just one coat of Ronseal’s primer and undercoat would be enough for the new paint to stick and be vibrant for years to come.
Ready your brush and a paint roller for the primer application. Make sure to do this in a well-ventilated area to maintain safety. You can start with the brush, going over every nook and cranny of the cabinet. Once you’re done with the hard-to-reach spots, you can then use the roller for the much bigger surfaces of the cabinet.
Step 6: Repaint the surfaces with whatever colour you desire
Here comes the exciting part of any upcycle project: painting! Have your paint, paint rollers, and paintbrushes ready before starting.
Open up your paint can with anything that can act as leverage– a flathead screwdriver would do. Stir the paint around thoroughly and carefully with some spare wood or lumber. Stirring the paint in this manner mixes all the pigments and the binder together, giving you the exact shade of paint that’s shown on the tin.
Paint the cabinet with an initial coat. Make sure you reach all the spots by using both a brush and a paint foam roller. Let this first coat of paint dry completely before applying the final top coat. Once this second coat is dry, you can start to carefully remove the masking tape.
While the paint on the cabinet is drying, you can also paint the cabinet door and maybe the cabinet drawers if that fits in with your desired aesthetic. Alternating the painting between the different parts of the cabinet would be a great use of your time, ensuring that you can finish your upcycle in just one day.
Step 7: Put back the doors and drawers
Once all the paint on all the parts has dried, start putting back everything you removed. With the drawers, simply drop them back into the sliding mechanism and close them. With the cabinet doors, refit the hinge to the door side before fitting it to the cabinet itself.
Step 8: Add new handles
If you’re looking to fit your cabinet with new handles, you have to start by first measuring the distance of the new handle holes. You can mark the distance using some more masking tape for easier clean-up.
Double-check your measurements before starting to drill the holes. For a trusty drill that you can use on anything, this 4-speed cordless drill driver can help you in all kinds of upcycling projects.
After drilling, attach the new handles. Usually, you’d just be using a screwdriver to attach the holding screws to the handle. Make sure you’ve tightened it as much as you can so that the handles are secured.
Get upcycling
Then you’re done with your first cabinet upcycle project! If you feel like doing another one, just go back to our guide above and follow it step by step. A great way to get the most out of the furniture that you already have is to upcycle it. And if there are plenty of items in your home which fit this description, it can become a really fruitful hobby for any budding DIYer.
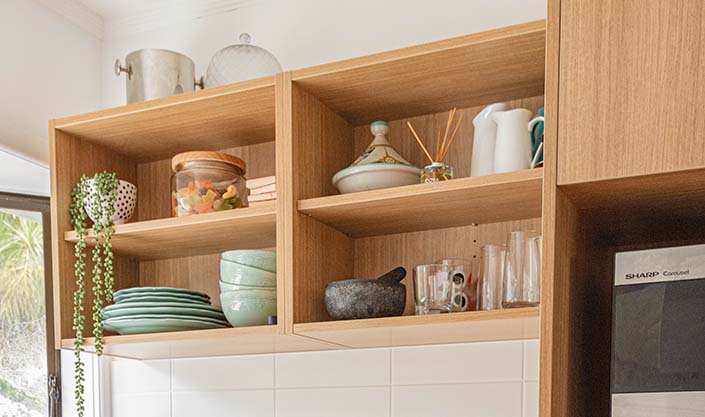
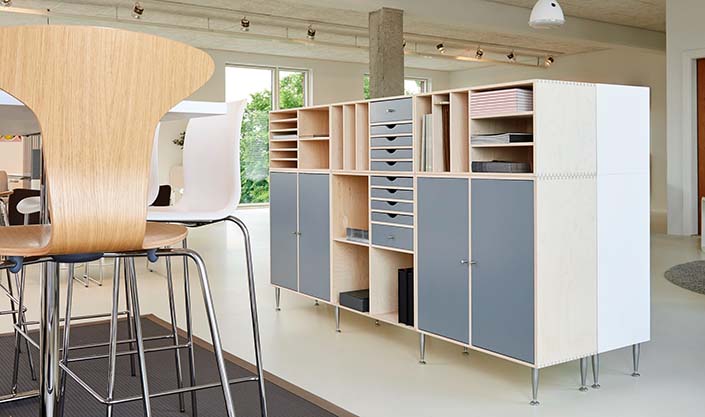
Of course, you can always redesign your space whenever you feel like it. Whatever you want to try out, upcycling your furniture is a great way to go about a change in decor. If you want a completely fresh change, you can switch out the old ones to create a brand-new feel. Take this glossy white sideboard cabinet for instance: With built-in LED lights and spacious shelving inside, you can have a more modern cabinet in your space that still functions as a storage unit.
Coming soon to Yavolo in September 2023, are even more ways to freshen up your house with unique ideas and furniture.
For other useful and informative blogs, check out our home page by clicking here
Here are those products again that we love and have linked to in this blog post: