
Today, we’re going to delve into a topic that’s crucial for any shed owner – insulation. Whether you’re using your shed as a cosy retreat, a bustling workshop, or a secure storage space, insulation is key to making your shed comfortable, energy-efficient, and durable. So, let’s get started on this exciting journey of understanding and implementing shed insulation!
Understanding Shed Insulation
Shed insulation, in simple terms, is the process of adding insulating materials to the walls, floor, and roof of your shed. This acts as a barrier, reducing the amount of heat entering your shed in the summer and escaping from it in the winter. The result? A shed that’s cosy in the winter, cool in the summer, and comfortable all year round!
One key concept to understand when it comes to insulation is the ‘R-Value’. This measures the thermal resistance of an insulating material – in other words, how well it can prevent heat from passing through it. The higher the R-Value, the better the insulation. Remember this term, as it’ll pop up a few times throughout this guide!
Why Should You Insulate Your Shed?
You might be wondering, “Why should I go through the effort of insulating my shed?” Well, there are several compelling reasons to do so. Let’s explore them in detail:
- Temperature Control: Insulation helps maintain a consistent temperature inside your shed, regardless of the weather outside. This means you can enjoy your shed in all seasons, whether you’re potting plants in the summer or tinkering with DIY projects in the winter.
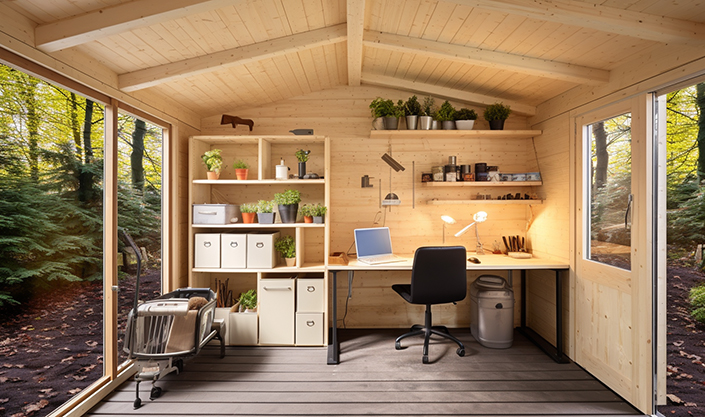
- Increased Usage: An insulated shed isn’t just a storage space – it’s a functional extension of your home. It could be a home office, a hobby room, a gym, or even a guest room. The possibilities are endless!
- Protection from Rot and Mould: Insulation can help prevent dampness, which in turn protects your shed from issues like rot and mould. This is especially important if you’re storing items that could be damaged by moisture, such as tools, furniture, or electronics.
Can You Insulate a Shed Yourself?
Absolutely! If you’re a DIY enthusiast, insulating your shed can be a rewarding project. It’s a straightforward process that can be completed over a weekend or two. And don’t worry, we’ll guide you through every step of the way in this blog post.
Types of Shed Insulation
There are several types of insulation available, each with its own pros and cons. Let’s take a closer look at each type to help you decide which one is right for your shed:
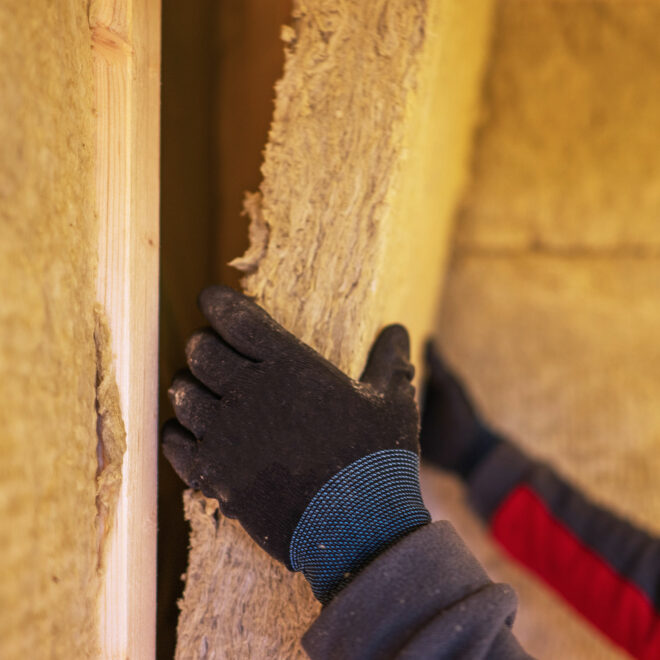
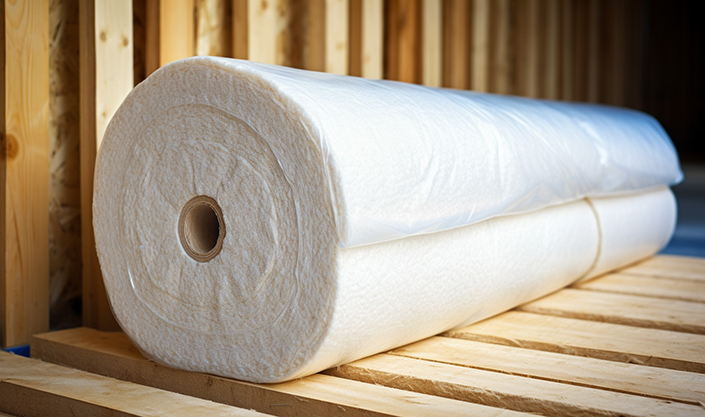
- Fibreglass Insulation (above): This is a popular choice for many shed owners. It’s relatively inexpensive, easy to install, and has a good R-Value. However, it can absorb moisture, which could lead to mould issues if not properly managed.
- Mineral Wool Insulation: This type of insulation is excellent at limiting outside noise, making it a great choice if you’re planning to use your shed as a workspace. It’s also resistant to fire and moisture. However, it’s slightly more expensive than fibreglass insulation.
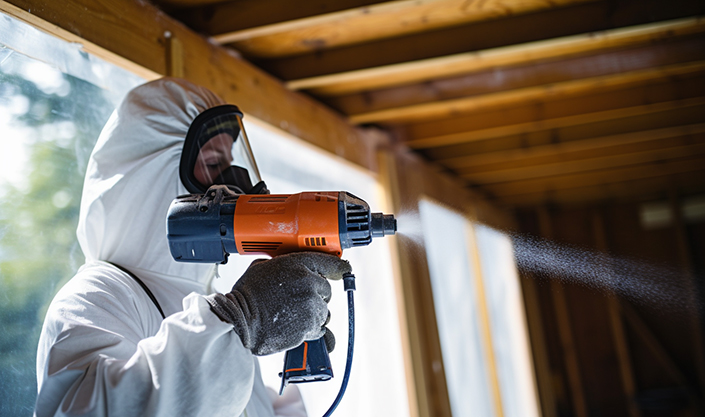
- Spray Foam Insulation: This is high-performance insulation that’s great at filling gaps and cracks. It provides excellent thermal resistance and is resistant to moisture. However, it’s more expensive than other types of insulation and may require professional installation.
- Foam Board Insulation: This is a lightweight, affordable option that’s easy to install. It provides good thermal resistance and is resistant to moisture. However, it’s not as durable as other types of insulation and may degrade over time.
Step-by-Step Guide to Insulating a Shed
Ready to get started on your insulation project? Here’s a detailed, step-by-step guide to help you insulate your shed like a pro:
- Measure Your Shed: Start by measuring the walls, floor, and ceiling of your shed. This will help you determine how much insulation material you’ll need.
- Choose Your Insulation: Based on your budget, needs, and the information provided above, choose the type of insulation that’s right for your shed.
- Install Your Insulation: Cut your insulation to fit the measurements of your shed. For walls and ceilings, start from the top and work your way down, securing the insulation with staples or adhesive. For the floor, lay the insulation between the joists and secure it with adhesive.
- Add a Vapor Barrier: This is a layer of material (usually plastic sheeting) that’s installed over the insulation to prevent moisture from getting in. It’s especially important if you’re using fibreglass or mineral wool insulation.
- Cover the Insulation: Cover the insulation with a layer of plywood or drywall to protect it and give your shed a finished look.
- Check for Gaps: Once the insulation is installed, check for any gaps or cracks and fill them with caulk or expanding foam.
Remember, safety first! Always wear protective gear when handling insulation materials, including gloves, safety glasses, and a dust mask.
Maintaining Your Insulated Shed
Once your shed is insulated, it’s important to maintain it properly to ensure it continues to perform well. This includes regularly checking the insulation for any signs of damage or wear and tear, and replacing it as necessary. It’s also a good idea to keep an eye out for any signs of moisture or mould, especially if you’re using a type of insulation that’s susceptible to water damage.
Choosing the Right Insulation for Your Shed on Yavolo
Ready to start your insulation project? We’re excited to announce that Yavolo will soon be stocking a wide range of insulation materials to suit all your needs. Whether you’re looking for affordable fibreglass insulation, noise-reducing mineral wool, high-performance spray foam, or lightweight foam board, we’ve got you covered. Stay tuned for updates!
Conclusion
Insulating your shed is a worthwhile investment that can enhance comfort, increase usability, and protect your shed from damage. Whether you’re a seasoned DIY enthusiast or a beginner, we hope this guide has given you the knowledge and confidence to tackle your shed insulation project. Remember, the key to a successful insulation project is choosing the right materials, installing them correctly, and maintaining them properly. So why wait? Start your shed insulation journey today and transform your shed into a comfortable, energy-efficient space!
FAQs
- Can I insulate my shed myself? Absolutely! With the right materials and a bit of guidance (like this blog post), you can definitely tackle this project yourself.
- What type of insulation is best for my shed? The best type of insulation for your shed depends on your specific needs, budget, and the climate in your area. Each type of insulation has its own pros and cons, so it’s important to consider these before making a decision.
- How much does it cost to insulate a shed? The cost of insulating a shed can vary widely depending on the size of your shed, the type of insulation you choose, and whether you do it yourself or hire a professional.
- How can I maintain my insulated shed? Regularly check your insulation for any signs of damage or wear and tear, and replace it as necessary. Also, keep an eye out for any signs of moisture or mould, especially if you’re using a type of insulation that’s susceptible to water damage.
For more amazing blogs on a variety of topics, head to our home page.