
Whether you’re a seasoned DIYer or a novice looking to dip your toes into the world of home improvement, we’re here to guide you every step of the way. And guess what? You’re about to discover that changing a kitchen tap is not as daunting as it might seem. Plus, with Yavolo soon to be brimming with a variety of top-notch kitchen taps, you’ll have plenty of options to choose from. So, let’s roll up our sleeves and get started!
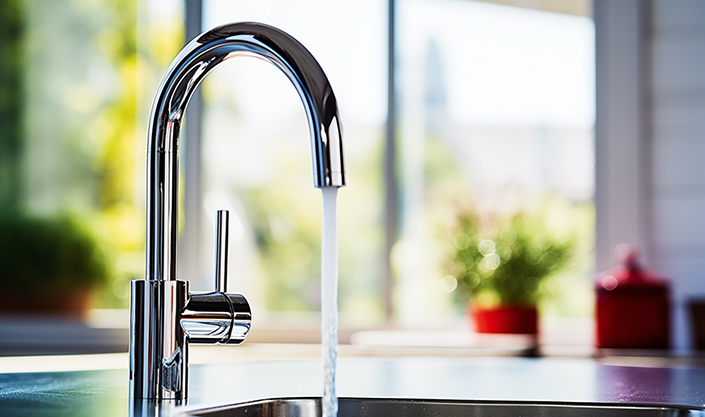
Understanding Your Kitchen Tap
Before we look at the finer details of replacing your kitchen tap, it’s essential to understand the different types of taps available and the materials they’re made from.
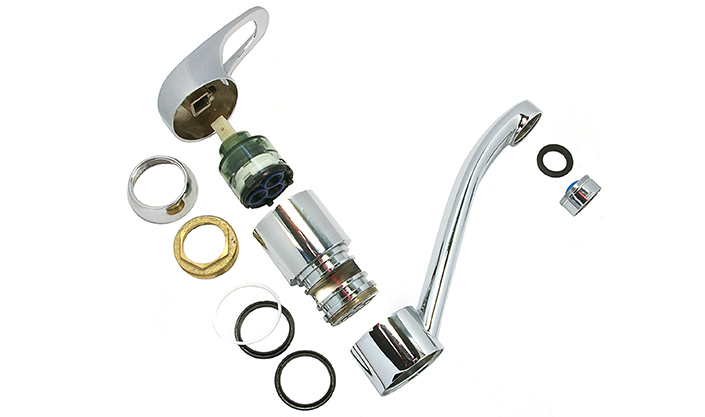
- Types of Kitchen Taps: From pull-out kitchen taps that offer flexibility, pull-down taps for those hard-to-reach areas, to touchless kitchen taps for the hygiene-conscious, there’s a tap for every need. Single-handle taps offer simplicity and ease of use, while high-arc taps add a touch of elegance to your kitchen.
- Materials: Kitchen taps come in a variety of materials, with stainless steel and brass being the most common. Stainless steel taps are known for their durability and resistance to corrosion, while brass taps offer a classic, timeless look.
Understanding your current tap’s type and material will help you choose a suitable replacement and prepare for the installation process.
Tools and Materials Needed

Now, let’s talk about the tools you’ll need for this DIY adventure. Don’t worry, you won’t need an entire plumber’s toolkit. Here’s a list of the essentials:
- Adjustable Wrench: This will be your best friend during the tap replacement process. It’s used to loosen and tighten nuts and bolts.
- Plumber’s Tape: Also known as Teflon tape, this helps create a watertight seal on the threads of the tap connections.
- Bucket and Towels: For catching any residual water and keeping your workspace dry.
- Screwdriver: To remove any screws on your old tap.
Remember, quality tools make for a smoother DIY experience. Yavolo will offer a range of high-quality DIY tools perfect for tasks like this.
Choosing Your New Kitchen Tap
Choosing a new kitchen tap is like picking a new piece of jewellery for your kitchen. It needs to be functional, match your kitchen’s style, and reflect your personal taste. Here are some factors to consider:
- Type: Think about your daily kitchen activities. Do you need the flexibility of a pull-out tap, the range of a pull-down tap, or the convenience of a touchless tap?
- Material: Stainless steel is durable and easy to clean, while brass offers a vintage vibe. Choose a material that matches your kitchen’s aesthetic and maintenance preferences.
- Design: From high-arc designs that make a statement to minimalist single-handle taps, there’s a design for every kitchen.
Preparing for Tap Replacement
Before we start unscrewing anything, it’s important to prepare your workspace. Clear the area under the sink to give yourself plenty of room to work. Turn off the water supply to your kitchen tap, usually located under the sink. Open the tap to drain any residual water and relieve any pressure in the pipes. Place a bucket under the sink to catch any drips and have a towel handy for any spills.
Safety first! Make sure your workspace is well-lit, and if you’re not comfortable with any part of the process, don’t hesitate to call a professional.
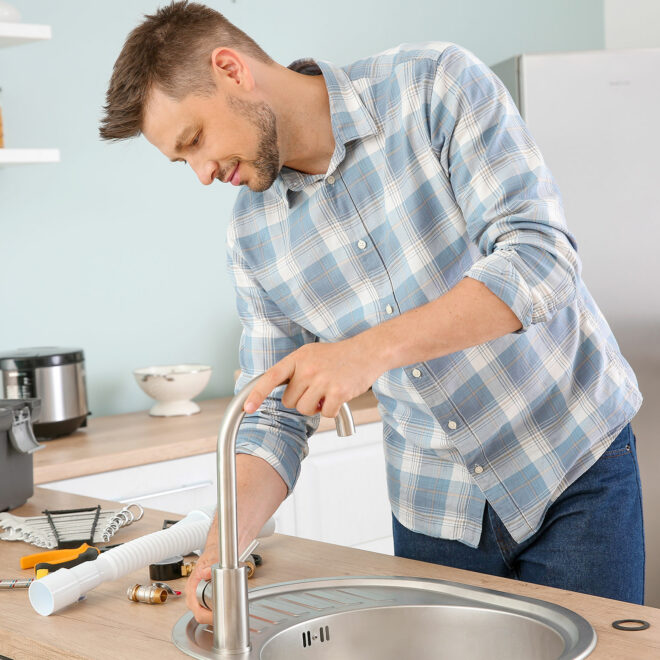
Step-by-Step Guide to Replacing Your Kitchen Tap
Now, we’re ready to get our hands dirty (not literally, of course!). Here’s a detailed, step-by-step guide to replacing your kitchen tap:
- Removing the Old Tap: Start by using your adjustable wrench to disconnect the water supply lines from the tap. Turn the nuts counterclockwise to loosen them. Once disconnected, use your wrench to remove the nuts holding the tap to the sink. You should now be able to lift the old tap out of its position.
- Installing the New Tap: Place the new tap in the hole in your sink. From underneath the sink, screw the provided nuts onto the tap’s threads to secure it in place. Make sure the tap is positioned correctly before tightening the nuts.
- Reconnecting the Water Supply: Wrap the threads of your water supply lines with the plumber’s tape to ensure a tight seal. Connect the lines to your new tap, turning the nuts clockwise to tighten them.
- Final Checks: Turn the water supply back on and check your new tap for any leaks. If you notice any, turn off the water supply and check your connections.
Remember, it’s okay to take your time and double-check each step. You’re learning a new skill, and that’s something to be proud of!
Post-Installation Checks
After the installation, it’s important to check for any leaks. Turn on the tap and let the water run for a few minutes. Check the connections under the sink for any drips. If you notice a leak, turn off the water supply and tighten the connections. If the leak persists, it might be best to call a professional.
Maintenance Tips for Your New Kitchen Tap
Now that you’ve successfully installed your new kitchen tap, let’s talk about how to keep it in tip-top shape. Regular maintenance not only keeps your tap looking shiny and new but also extends its lifespan.
- Cleaning: For stainless steel taps, a soft cloth and soapy water are usually enough to keep them sparkling. For brass taps, you might need a specialised cleaner to maintain its shine.
- Regular Checks: Regularly check your tap for any leaks or drips. If you notice any, it’s best to address them immediately to prevent further issues.
- Professional Help: If you encounter any major issues with your tap, don’t hesitate to call a professional. It’s better to get help than to risk damaging your tap or pipes.
Conclusion
We hope this guide has shown you that with a bit of knowledge and the right tools, anyone can tackle a DIY project like this. Remember, Yavolo will soon be stocked with a variety of kitchen taps, perfect for your next DIY adventure. So, why not explore other DIY projects and continue your journey in home improvement?
Frequently Asked Questions
Finally, let’s address some common questions about kitchen tap replacement:
- Can I replace a kitchen tap myself? Absolutely! With the right tools and guidance, anyone can replace a kitchen tap.
- How long does it take to replace a kitchen tap? For a beginner, it might take a couple of hours. Don’t rush, take your time, and make sure everything is done correctly.
- What if I notice a leak after installation? If you notice a leak, check your connections and make sure everything is tightened properly. If the leak persists, it might be best to call a professional.
Remember, every DIY project is a learning experience. So, embrace the process, learn from any mistakes, and most importantly, have fun! Happy DIYing!
For more amazing blogs on a variety of topics, head to our home page.