
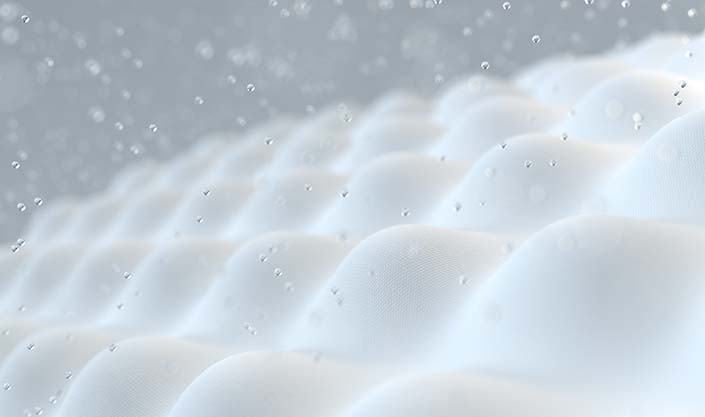
Whether it’s where you do your work-from-home duties (we’ve all done it in the last few years), where you snack and watch your latest TV series, or simply where you rest at the end of the day, a clean mattress has always been an important part of our everyday lives.
A lot of people have said it and it remains true: a mattress is an investment. And with more and more time seemingly spent with your lovely mattress, it is becoming increasingly important and requires more effort to keep it clean.
If you’re looking to make that investment for you and your home, this day bed bundled with a trundle and mattress is a great choice. With its unique and sturdy design, it’s perfect for any visiting guest or even for yourself!
We know more than most on this subject, a mattress is an incredibly personal decision and plenty of factors go into making one perfect for you. However, that’s no problem: We have a blog all about choosing the very best mattress for you. Take a look here.
What you will need
Now, let’s get onto the main event: mattress cleaning. We’ve got a super straightforward method and all you need is time (we recommend allotting a day or two to achieve the best clean mattress possible) and energy, plus the following items:
- Cleaning Cloths
- Vacuum (one with an upholstery attachment)
- Baking Soda
- Laundry Detergent
- Dish Soap or Enzyme Cleaner
- Cold Water
Step 1: Deep clean your bedding
The first thing you need to do is remove the bedding from your mattress. This includes any mattress covers, pillowcases, duvets and sheets.
Put them into your washing machine so they can be cleaned while you do your mattress cleaning. So use hot water and a liquid detergent like this finish professional liquid detergent for the ultimate deep cleaning.
Once you’ve removed everything and the washing machine is going, you can now dedicate all your efforts and focus to the main event.
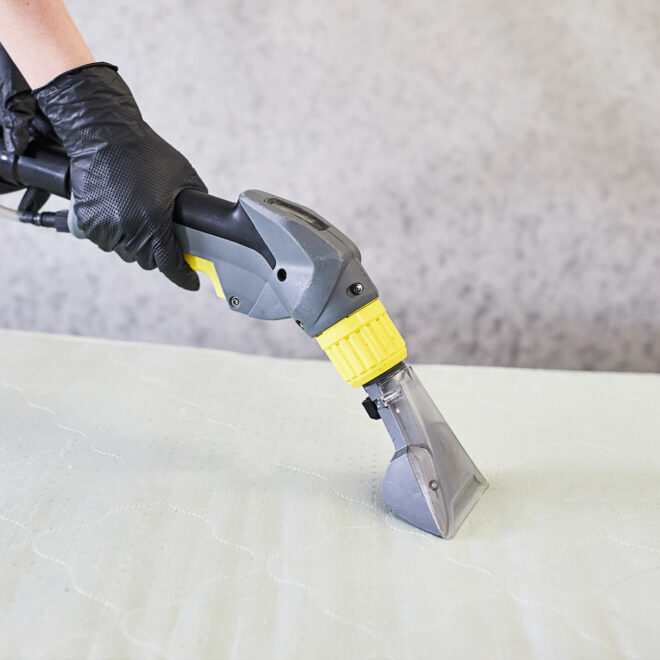
Step 2: Vacuum your mattress
It gets easier to clean your mattress once it’s free of any loose dirt or dust. Make sure you’re using the upholstery attachment on your vacuum cleaner and go over the entire mattress.
You can start on top of your mattress and then slowly move on to vacuuming the sides. Leave the other side for later after you’ve finished with the top side.
Step 3: Spot-clean for a great mattress cleaning.
This is where your cleaning cloths, dish soap or enzyme cleaner, and cold water will come in handy.
An important thing to remember for this step: the less product and moisture you apply to your mattress, the better.
For the dish soap route: mix it with some cold water until it foams on top. Locate any imperfections and with a clean cloth, apply the foam to them. You may have to do this a few times until your mattress is looking perfectly clean.
For the enzyme cleaner method: prepare two clean cloths, one for the cleaner and one for the cold water. Put a tiny amount of the cleaning solution onto one cloth and dab it on anything you wish to remove. After that, do the same with the water by putting just a bit on a clean cloth and patting the stains. Little by little, they will disappear if you keep at it.
Allow the mattress to air dry before moving on to the next step.
Step 4: Cleaning magic with baking soda
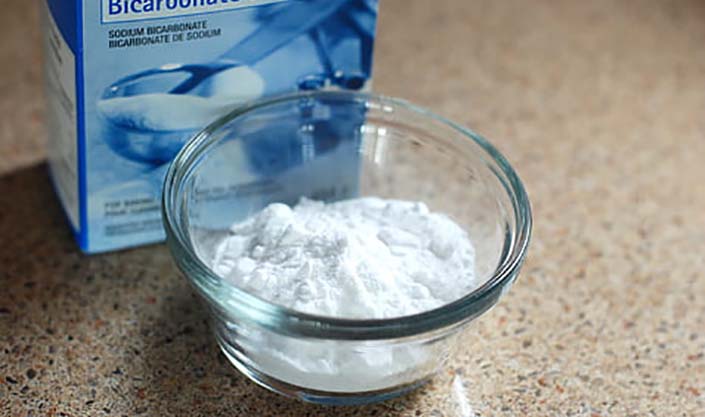
Baking soda is pretty much a magic powder: You can use it to clean so many things in your home. For this one, all you need to do is sprinkle baking soda all over the mattress. Yep, that’s all there is to it.
You’re going to need to let it air dry for a few hours. There’s no hard and fast rule as to how long the baking soda has to stay on the mattress. But we definitely believe that the longer, the better.
The more time the baking soda can break down the acid and absorb moisture and odour, the cleaner your mattress will be.
Step 5: Vacuum one more time
After hours of baking soda magic, get to vacuuming the whole surface and the sides of the mattress.
If you’re a neat freak, you can go over it twice or even three times. Make sure to secure the upholstery attachment to your vacuum cleaner before starting.
Step 6: Clean the mattress on both sides
You may be tempted to stop here and say, “Oh, I only ever really need one side of my mattress so I’ll just clean that side.”
But like we said, a mattress is an investment, so taking care of it to the best of your ability is important. Aside from the usual cleaning, flipping a mattress helps it last longer by wearing it more evenly.
For this step, resist the temptation to leave it be and flip your mattress so that the other side is on top. Repeat the steps above so that both sides of your mattress look and feel brand new.
How to keep a mattress clean
Now you’ve worked hard to clean your mattress, it’s time to find out how to actually protect your mattress in the long run. A great way of maintaining it so it can last longer is investing in a mattress protector.
A mattress protector’s job is to make future mattress cleaning easier by keeping it covered and perfectly clean for longer.
Here’s a perfect one that does all that and more: This top-notch waterproof and anti-bug mattress protector will make your next deep cleaning an absolute breeze.
To finish…

All you really need is a lot of time and energy and you’re good to go with cleaning your mattress. We hope our guide above has helped you on your journey to a cleaner bedroom.
Coming soon to Yavolo in September 2023, are even more ways to keep your house looking spick and span.
For other useful and informative blogs, check out our home page by clicking here.
Here are those products again that we love and have linked to in this blog post: