
If you’re looking for a way to build a pathway at home or reinforce a driveway then look no further than gravel grids.
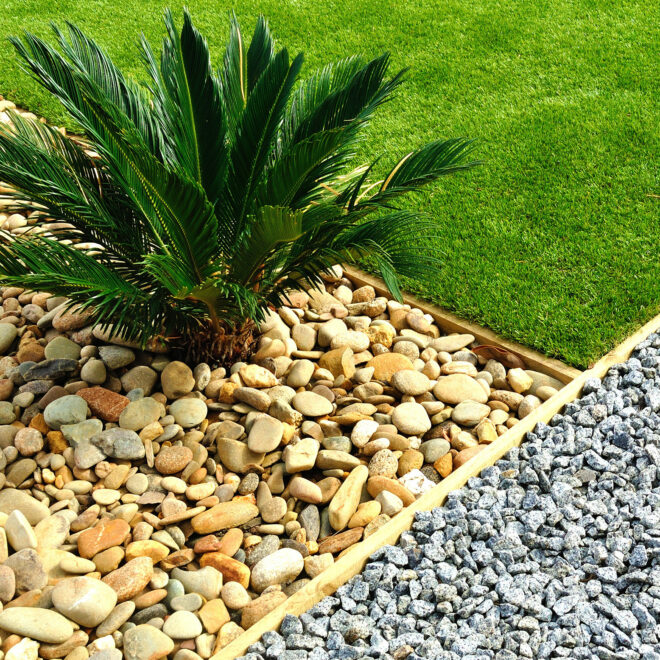
For any place where you may want to erect a pathway next to anything from your lawn to a car park, gravel grids will be a perfect solution. Reinforcing the gravel around your home or business is essential to add strength and stability, especially when driving vehicles on gravel.
In this blog, we’ll give you a detailed step-by-step guide to installing gravel grids to reinforce paths and driveways as well as the materials and tools needed for your project.
Materials Needed
Tools
- Angle Grinder or Saw
- Protective Gloves
- Protective Eyewear
- Rake
- Compactor
Materials
- Gravel Grid
- Weed Membrane
- Gravel/stones/pebbles
- Type 1 MOT (for concrete projects)
Step 1: Clear The Path
The first step is to plan out the area and clear the area where you’re planning on putting your gravel. If you’re laying on some concrete, you’ll need to add in a Type 1 MOT layer soil base layer but if you’re working on earthy ground, the soil will work in the same way.
Once you have a lovely firm base. If working on concrete, lay down at least a 100mm deep layer of Type 1 MOT in place of soil. MOT1 is made from crushed aggregate material (like rocks) and is commonly used on access roads and pathways.
Step 2: Put Down The Weed Membrane
You can use a compactor to even out the surface.
If you’re laying on soil, it’s always a wise move to stop weeds popping through with a membrane layer rather than having to remove them later down the line.
And now that you have the area set up, it’s time to lay down the weed membrane. We’d recommend this highly-reliable Outsunny Membrane that is perfect for projects like these.
This layer prevents weeds from growing for an unblemished and beautiful gravel path or drive.
Step 3: Assemble The Grids
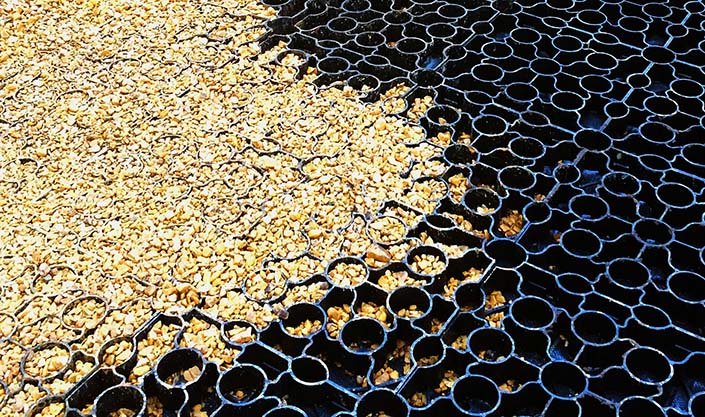
Lay the gravel grids down the path and cover the entire space.
You can use these environmentally-friendly EcoDeck grids which are perfect for wider paths given their large size.
They have slots and pegs which snap onto each other, helping to make a seamless path covering the entire area and leaving no gaps. This will maximise the stability of your path.
These particular grids are made from eco-friendly plastic so they are easier to cut using a capable angle grinder. As an alternative to the grinder, you can use a handsaw to precisely cut the stabilisation grid. In this way, you can construct elegant curves to fit your space.
Don’t forget to use your protective gear when carrying out these tasks such as heavy-duty gloves and eyewear.
Watch to not cut the grids to under half their regular size. To do this, plan out your grid to use each one well within your space.
Step 4: Lay Down The Gravel

When you have the reinforcement grids laid out, you can now add the gravel, stones, or pebbles.
Make sure to fill in all the crevices first using aggregates with 8mm to 20mm grading.
You don’t want the gravel grid to show through your gravel. To achieve that, make sure to add between 20-25mm of surface layer which should be more than enough for the gravel not to reveal the grid underneath.
Step 5: Level The Gravel
Now that you have prepared your ground, and filled in your area with gravel, you can now level it out using a rake to distribute it evenly.
When you have your gravel roughly evenly spread, you can always use your hands for that extra-special finishing touch
You’ll want to allow four to six weeks for it to naturally settle. But if you don’t have that time, you can easily use a light compactor on the area before use.
Work is done

Easy, right? Now you have a new, easy-to-install gravel grid space for your home or business which can accommodate heavy foot traffic or even accommodate heavy cars. It is a great way to extend your outdoor space and even add value to your home in a simple way.
Coming soon to Yavolo in September 2023, we will have even more products, designed to add value to your home.
For other useful and informative blogs, check out our home page by clicking here
Here are those products again that we love and have linked to in this blog post: